Craft your perfect cup
Every Marnka & Co. blend has been roasted with intention. The right brew method honours that — and brings out what makes each cup worth savouring. These guides are a starting point, not a rulebook. Coffee rewards curiosity. Start here, then make it yours. For every coffee lover, from beginner to master.
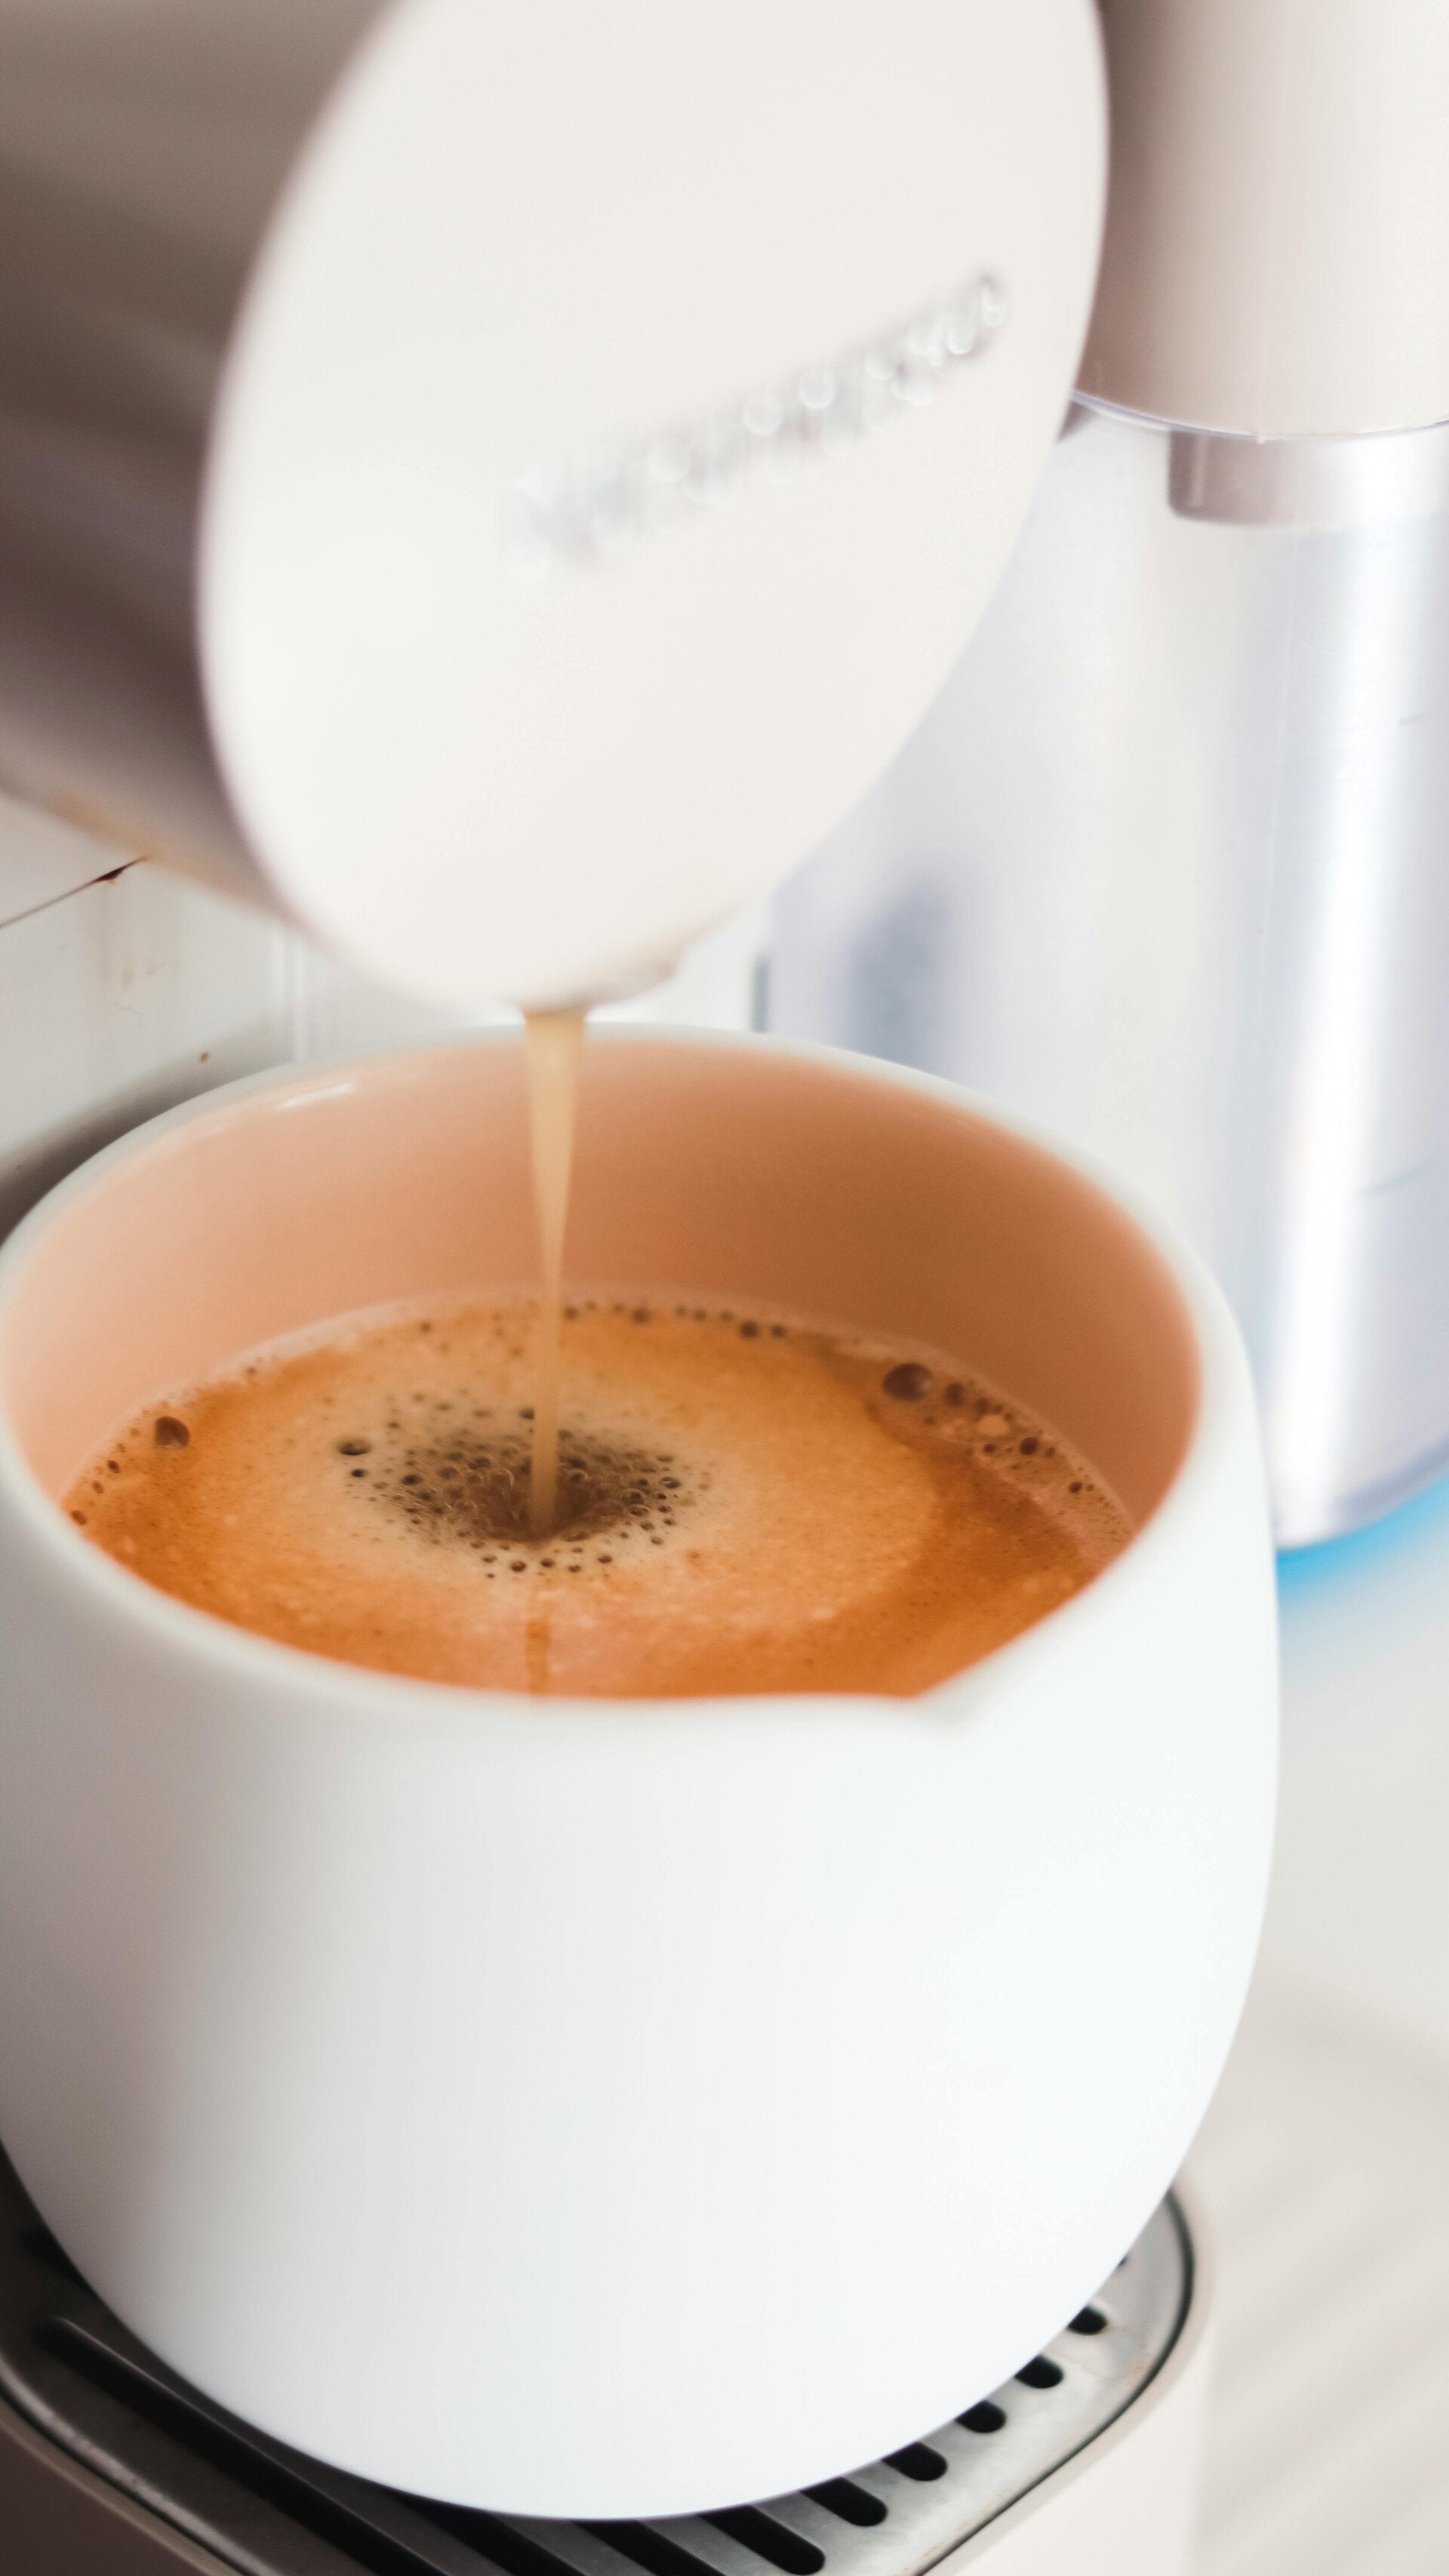
Method 1: Espresso
The method in a sentence: Pressure, heat and precision — the foundation of most coffee rituals.
What you need: Espresso machine · Burr grinder · Scales · Tamper
The guide: Espresso is where small variables make a big difference. A consistent grind and a level tamp are the two habits that will improve your cup faster than anything else.
Start with 18–20g of freshly ground coffee, aiming for 36–40g in your cup. Your extraction should take around 25–30 seconds. If it runs too fast, grind finer. Too slow, grind coarser.
Water temperature matters: 92–94°C is the sweet spot for most specialty roasts. If your machine doesn't give you control, let it rest for a few seconds after the boiler indicator triggers.
Our blends are roasted to shine as espresso. Expect the flavours to develop over the first 10–14 days post-roast. A little rest after roasting allows the gases to settle and the sweetness to emerge.
Tasting tip: Try your espresso black first, every time. Even if you prefer it with milk, a few seconds of tasting it straight tells you everything about whether your extraction is on track.

Method 2: Plunger (French press)
The method in a sentence: Full immersion brewing — rich, bold and forgiving.
What you need: French press · Burr grinder · Kettle · Scales · Timer
The guide: The plunger is one of the most accessible brew methods, and one of the most underrated. Done well, it produces a full-bodied, textured cup that suits our deeper, richer blends beautifully.
Use a coarse grind — about the texture of coarse sea salt. Add 60–70g of coffee per litre of water, or roughly 1 tablespoon per cup as a starting point.
Pour water just off the boil (93–96°C) over your grounds and give it a gentle stir to saturate evenly. Place the lid on — plunger up — and steep for 4 minutes. Press slowly and steadily. Pour immediately.
The key to a clean plunger cup is patience on the press and pouring all the liquid out straight away — letting it sit on the grounds after pressing will over-extract and turn bitter.
Tasting tip: Let your cup rest for 60–90 seconds before drinking. The temperature drop opens up the flavours and softens any bitterness at the edges.
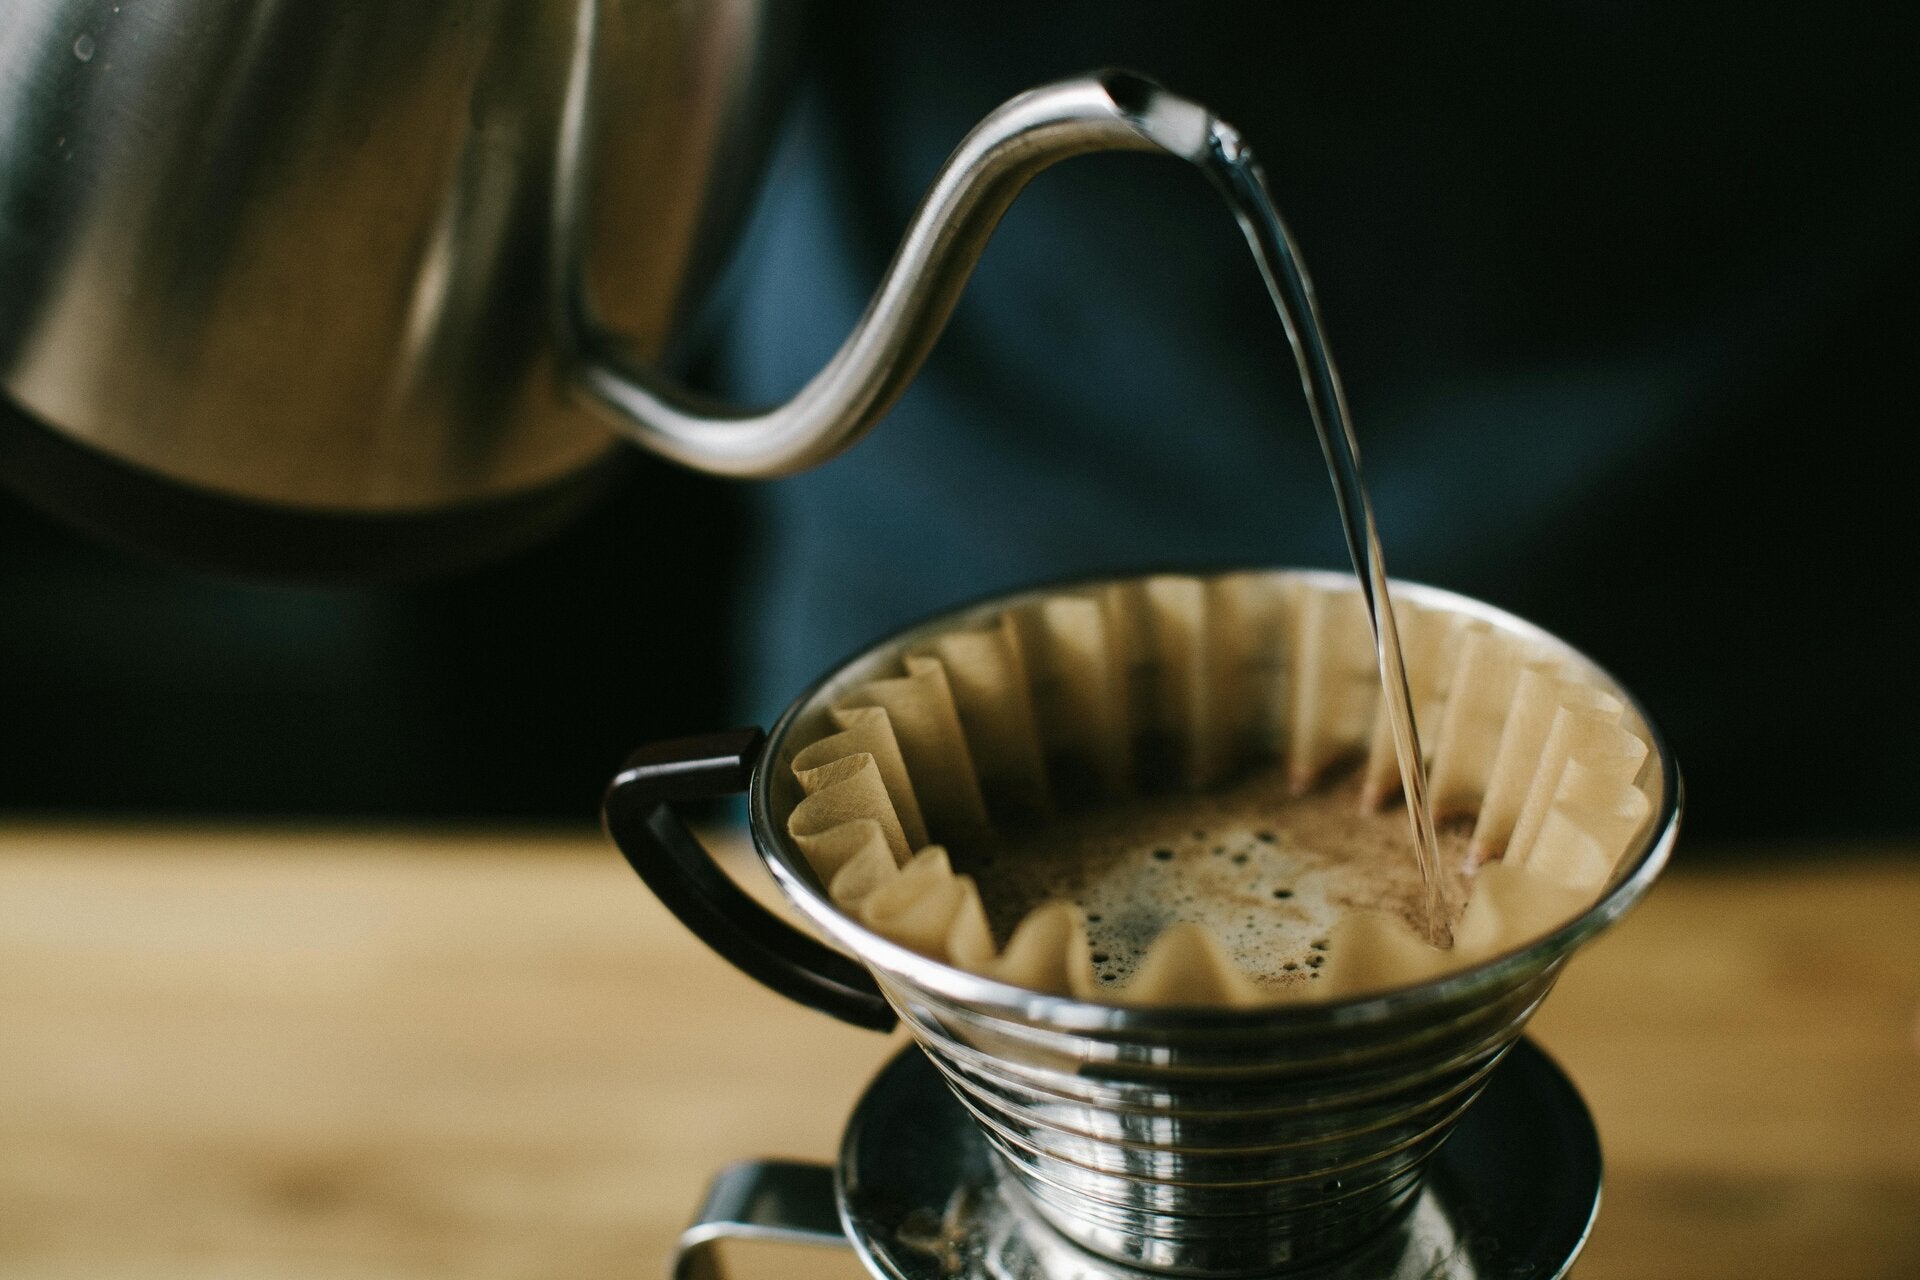
Method 3: Pour over
The method in a sentence: Clean, bright and expressive — this method lets the coffee speak.
What you need: Pour over dripper (V60, Kalita or similar) · Filters · Burr grinder · Gooseneck kettle · Scales · Timer
The guide: Pour over rewards attention. It's slower, more deliberate — and if you're the kind of person who wants to understand your coffee, it's the best method to develop that instinct.
Use a medium-fine grind, roughly the texture of caster sugar. A ratio of 60g per litre is a reliable starting point — for a single cup, aim for 15g of coffee to 250ml of water.
Begin with a bloom: pour twice the weight of your coffee in water (30g over 15g of grounds) and wait 30–45 seconds. This releases CO₂ and allows even extraction. Then pour slowly in steady, circular motions, maintaining a consistent water level over the grounds. Total brew time should land around 3–3.5 minutes.
Temperature: 90–93°C works well across all four of our blends.
Tasting tip: If your cup tastes flat or weak, try a finer grind or slower pour. If it tastes harsh or drying, go coarser or use slightly cooler water.
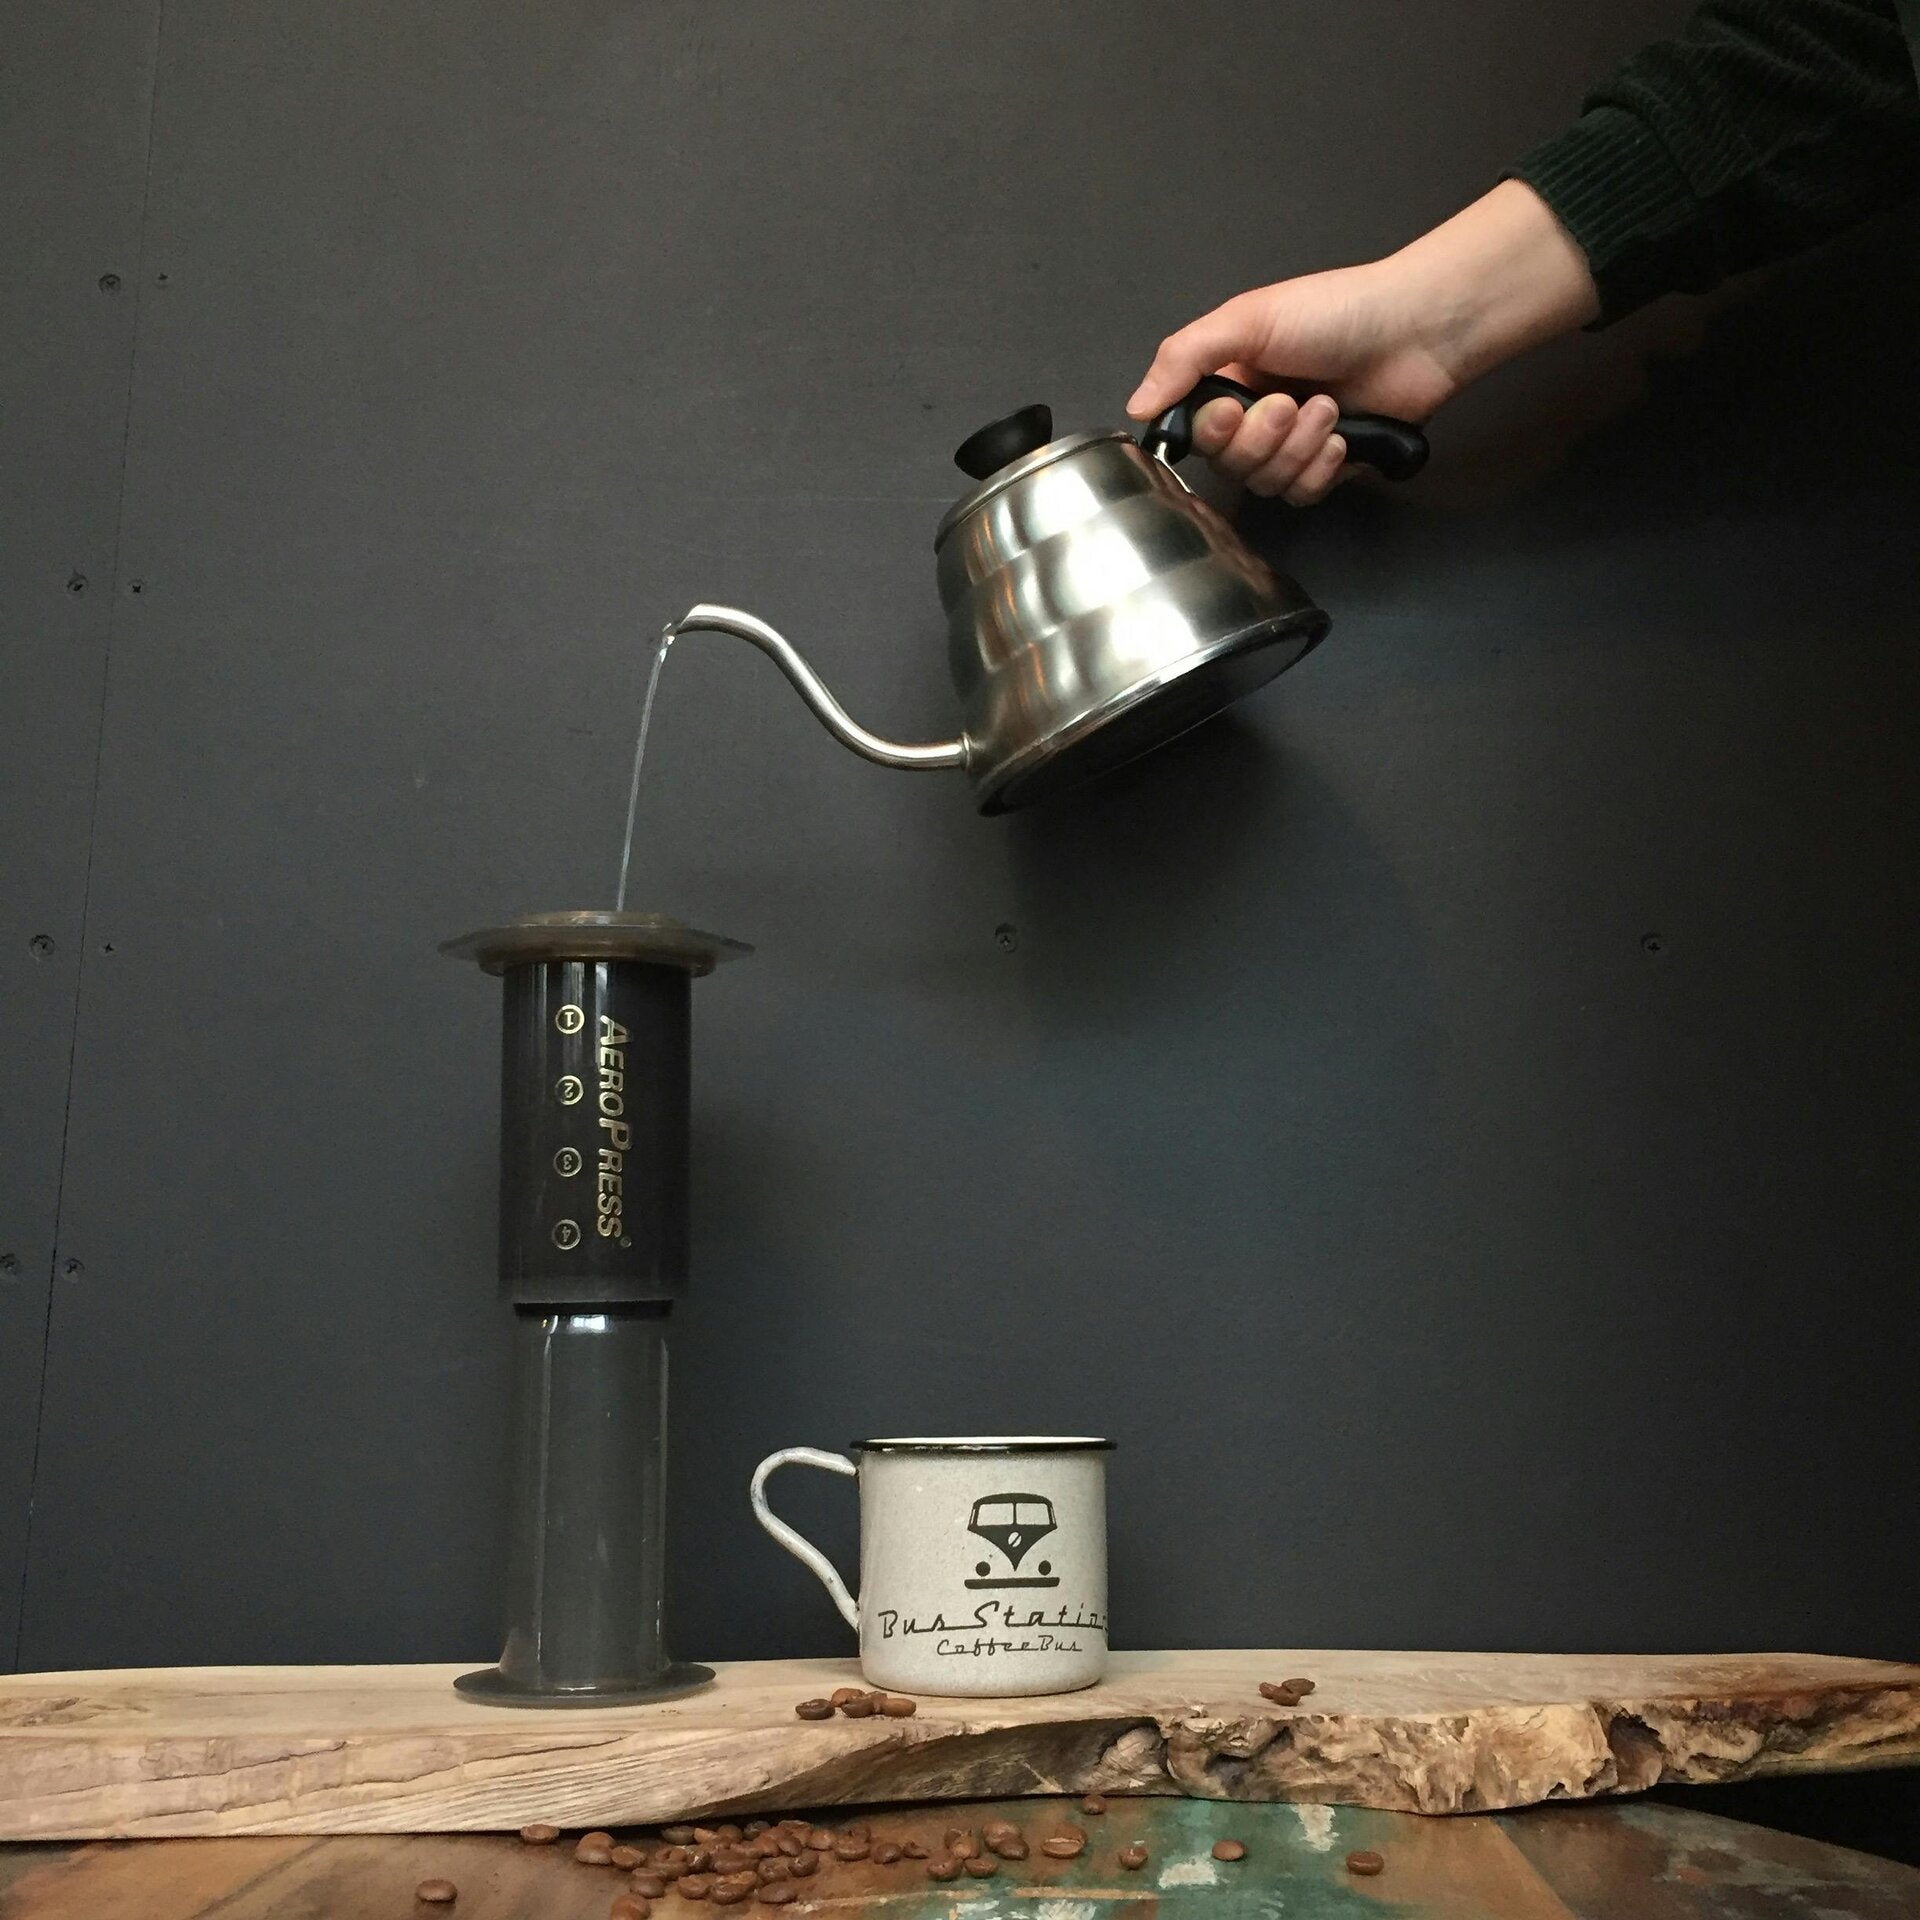
Method 4: AeroPress
The method in a sentence: Versatile, forgiving and surprisingly capable of producing exceptional coffee.
What you need: AeroPress · Filters (paper or metal) · Burr grinder · Kettle · Scales · Timer
The guide: The AeroPress is one of the few brew methods that suits virtually any roast and any preference. It's compact, forgiving, and capable of producing anything from a concentrated espresso-style shot to a clean, light filter-style cup — depending on how you approach it.
For a balanced everyday cup: use 15–17g of medium-fine ground coffee with 200–220ml of water at 80–85°C. Steep for 1–2 minutes, then press slowly for over 30 seconds.
For a stronger, more concentrated result, reduce the water to 100ml, steep for around 1 minute, and press into a mug, adding hot water to taste.
Paper filters give a cleaner, brighter cup. Metal filters allow more body and texture through. Try both with the same coffee and see which you prefer.
Tasting tip: The AeroPress is genuinely one of the best methods for exploring your coffee. Small changes — grind size, temperature, steep time — produce noticeably different results. Treat it as an experiment.
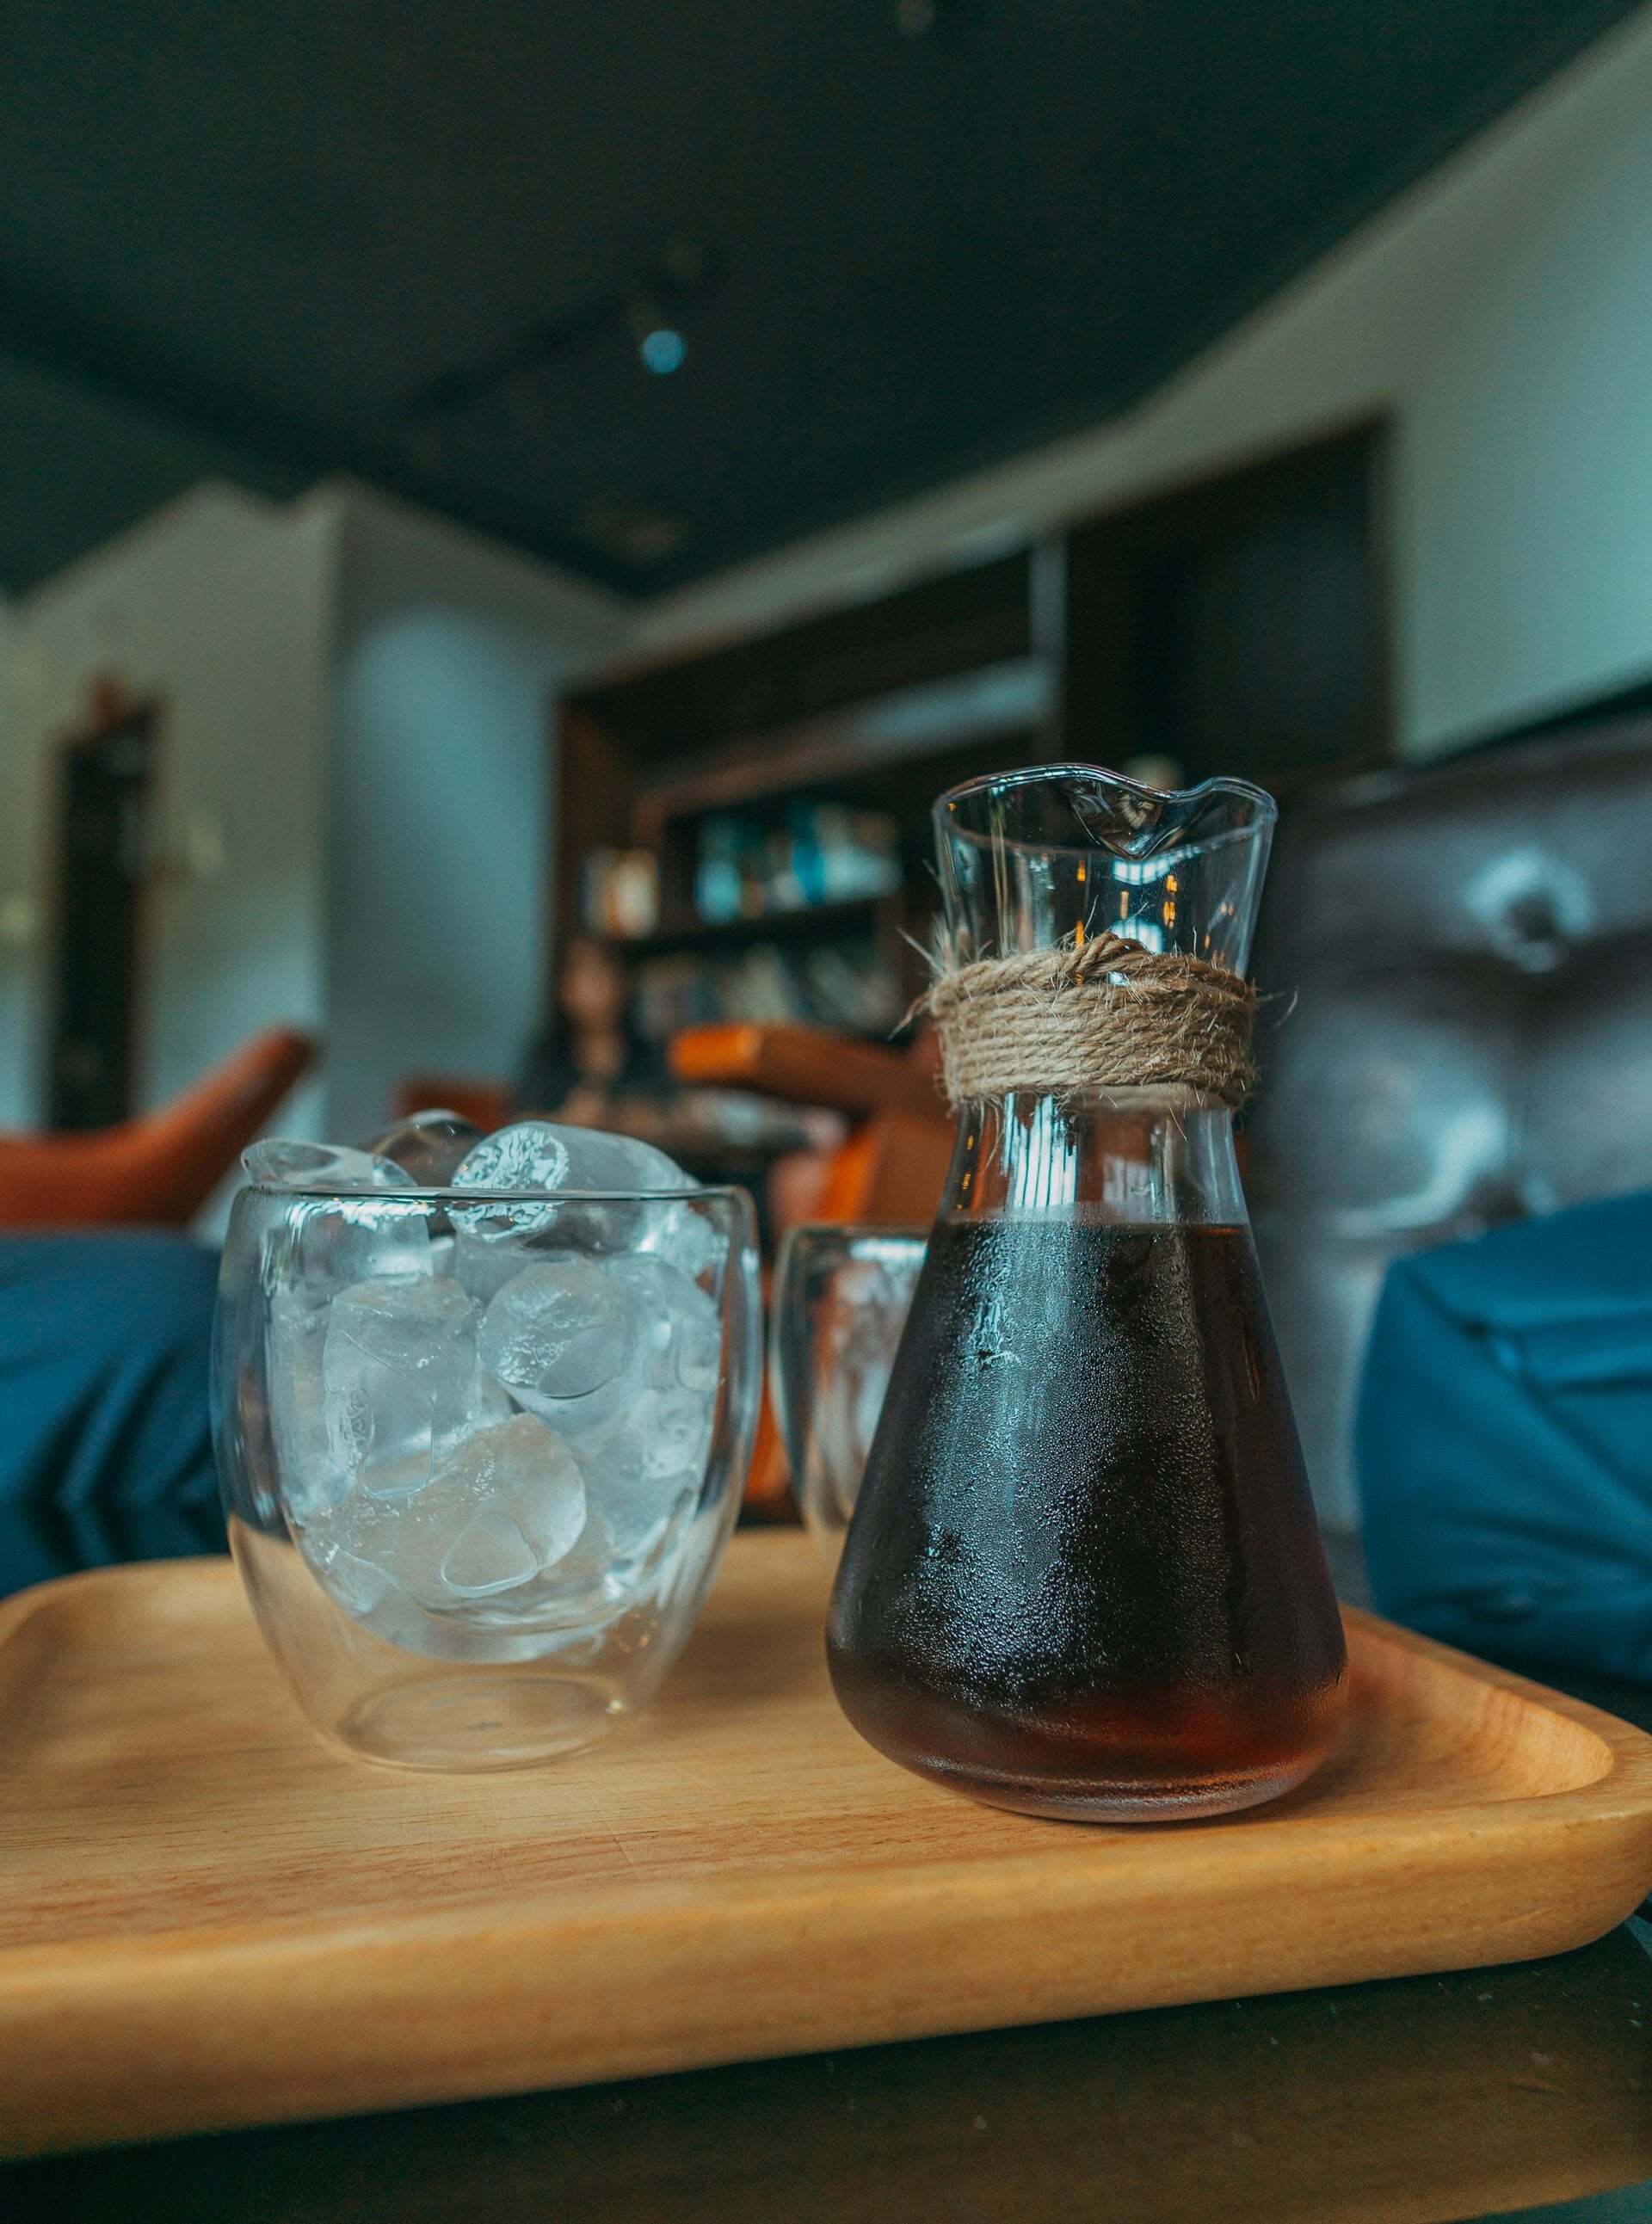
Method 5: Cold brew
The method in a sentence: Slow-steeped, smooth and naturally sweet — no heat required.
What you need: Large jar or cold brew vessel · Coarse burr grind · Cold filtered water · Strainer or filter
The guide: Cold brew is patience rewarded. There's no heat involved — just time, water and a coarse grind. The result is a naturally smooth, low acid concentrate that drinks beautifully over ice, with milk, or diluted to taste.
Use a coarse grind — coarser than you'd use for a plunger. Combine 100g of coffee with 750ml–1 litre of cold, filtered water. Stir well to saturate all the grounds. Cover and refrigerate for 12–18 hours. The longer you steep, the stronger the concentrate.
Strain through a fine mesh strainer or filter paper until clear. Store in the fridge and consume within 7–10 days.
To serve: dilute 1:1 with cold water or milk over ice. Adjust to your preference.
Tasting tip: Cold brew made with our blend's benefits from the full 18 hours. The flavour is noticeably rounder and sweeter at the longer end — the bitterness that sometimes appears at the shorter steep time rounds out completely.
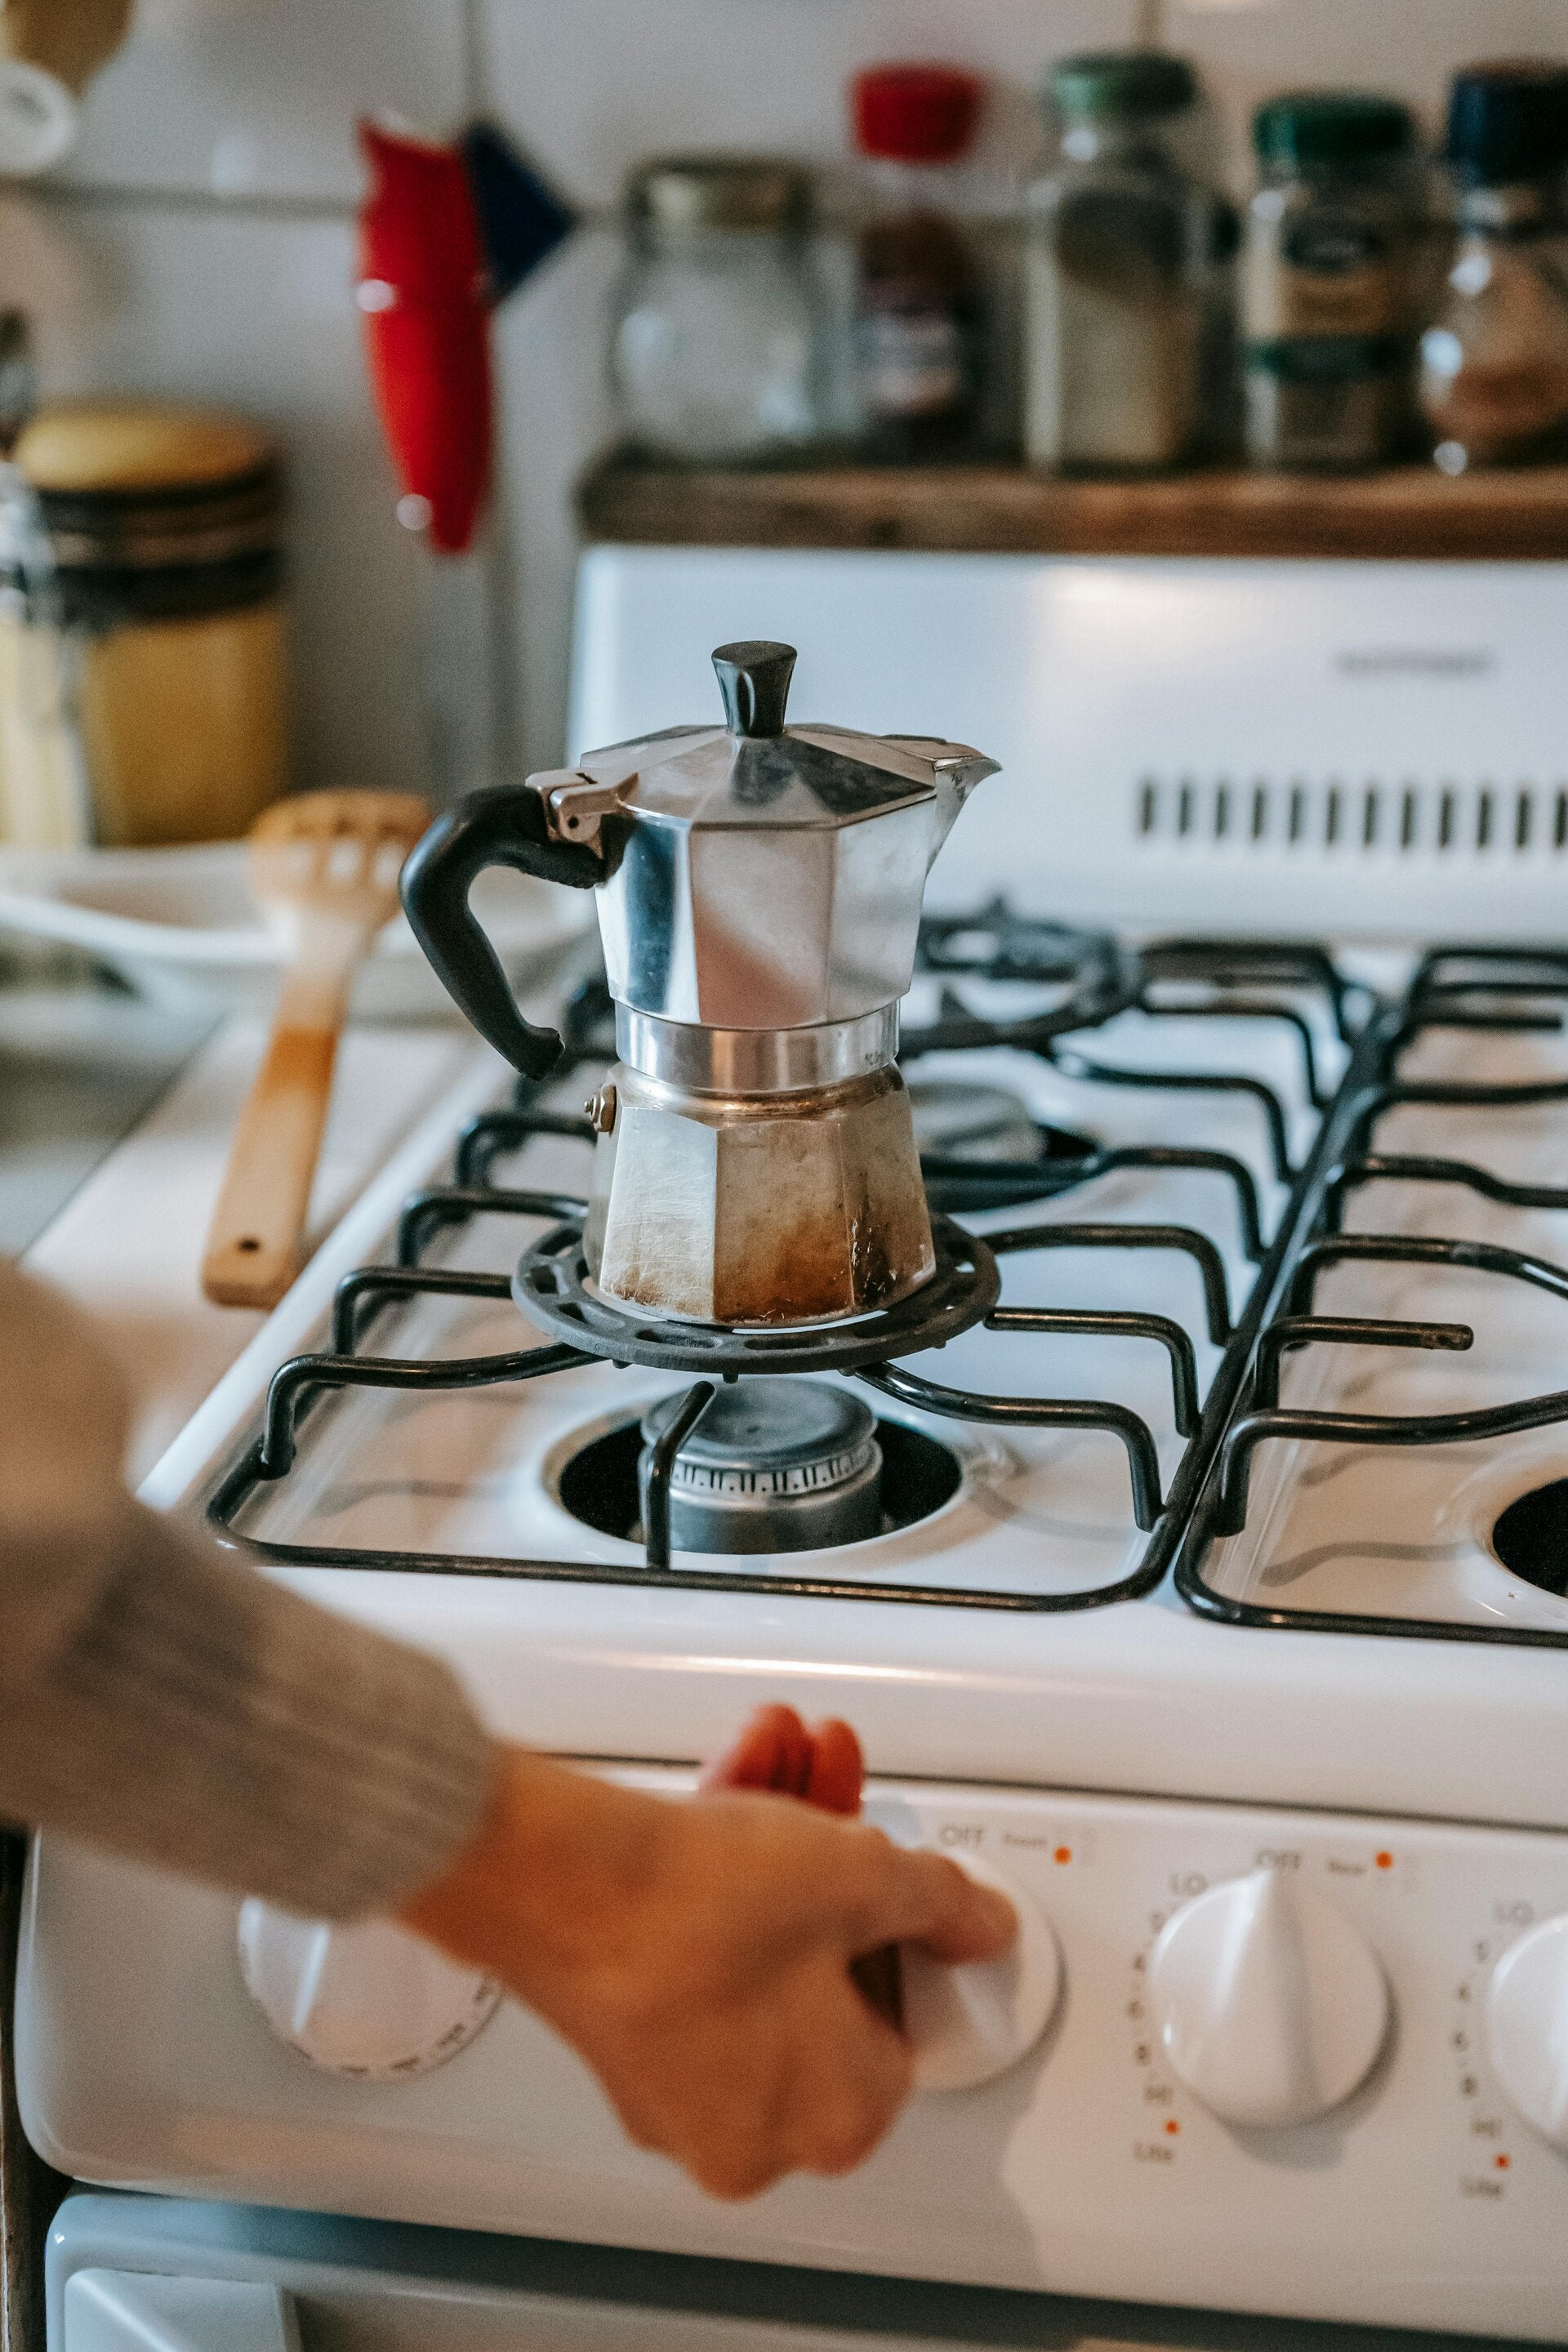
Method 6: Stovetop (moka pot)
The method in a sentence: Bold, strong and deeply satisfying — the stovetop classic done right.
What you need: Moka Pot · Burr grinder · Stove or heat source · Cold filtered water
The guide: The Moka Pot has been on kitchen benches for nearly a century, and for good reason. It produces a rich, intensely flavoured cup that sits somewhere between espresso and strong filter — full of body, with a depth that suits our darker, more complex blends particularly well.
Fill the bottom chamber with cold water just below the pressure valve — never above it. Use a medium-fine grind, slightly coarser than espresso. Fill the filter basket loosely and level it off with your finger — don't tamp. Tamping compacts the grounds too tightly, restricts the flow and leads to a bitter, over-extracted cup.
Place it on a medium-low heat with the lid open. As the water heats, it will push through the grounds and begin filling the upper chamber. Watch for it — the moment the coffee starts flowing steadily, reduce the heat slightly. When you hear a hissing, spluttering sound, remove it from the heat immediately. That sound means the water is running out and you're about to scorch the last of your extraction.
Run the base briefly under cold water to stop the extraction if needed.
Tasting tip: Low and slow is the rule. High heat rushes the extraction and burns the coffee. The best Moka Pot cups come from patience — a gentle, controlled rise in temperature produces something noticeably sweeter and more balanced than a rushed one.